
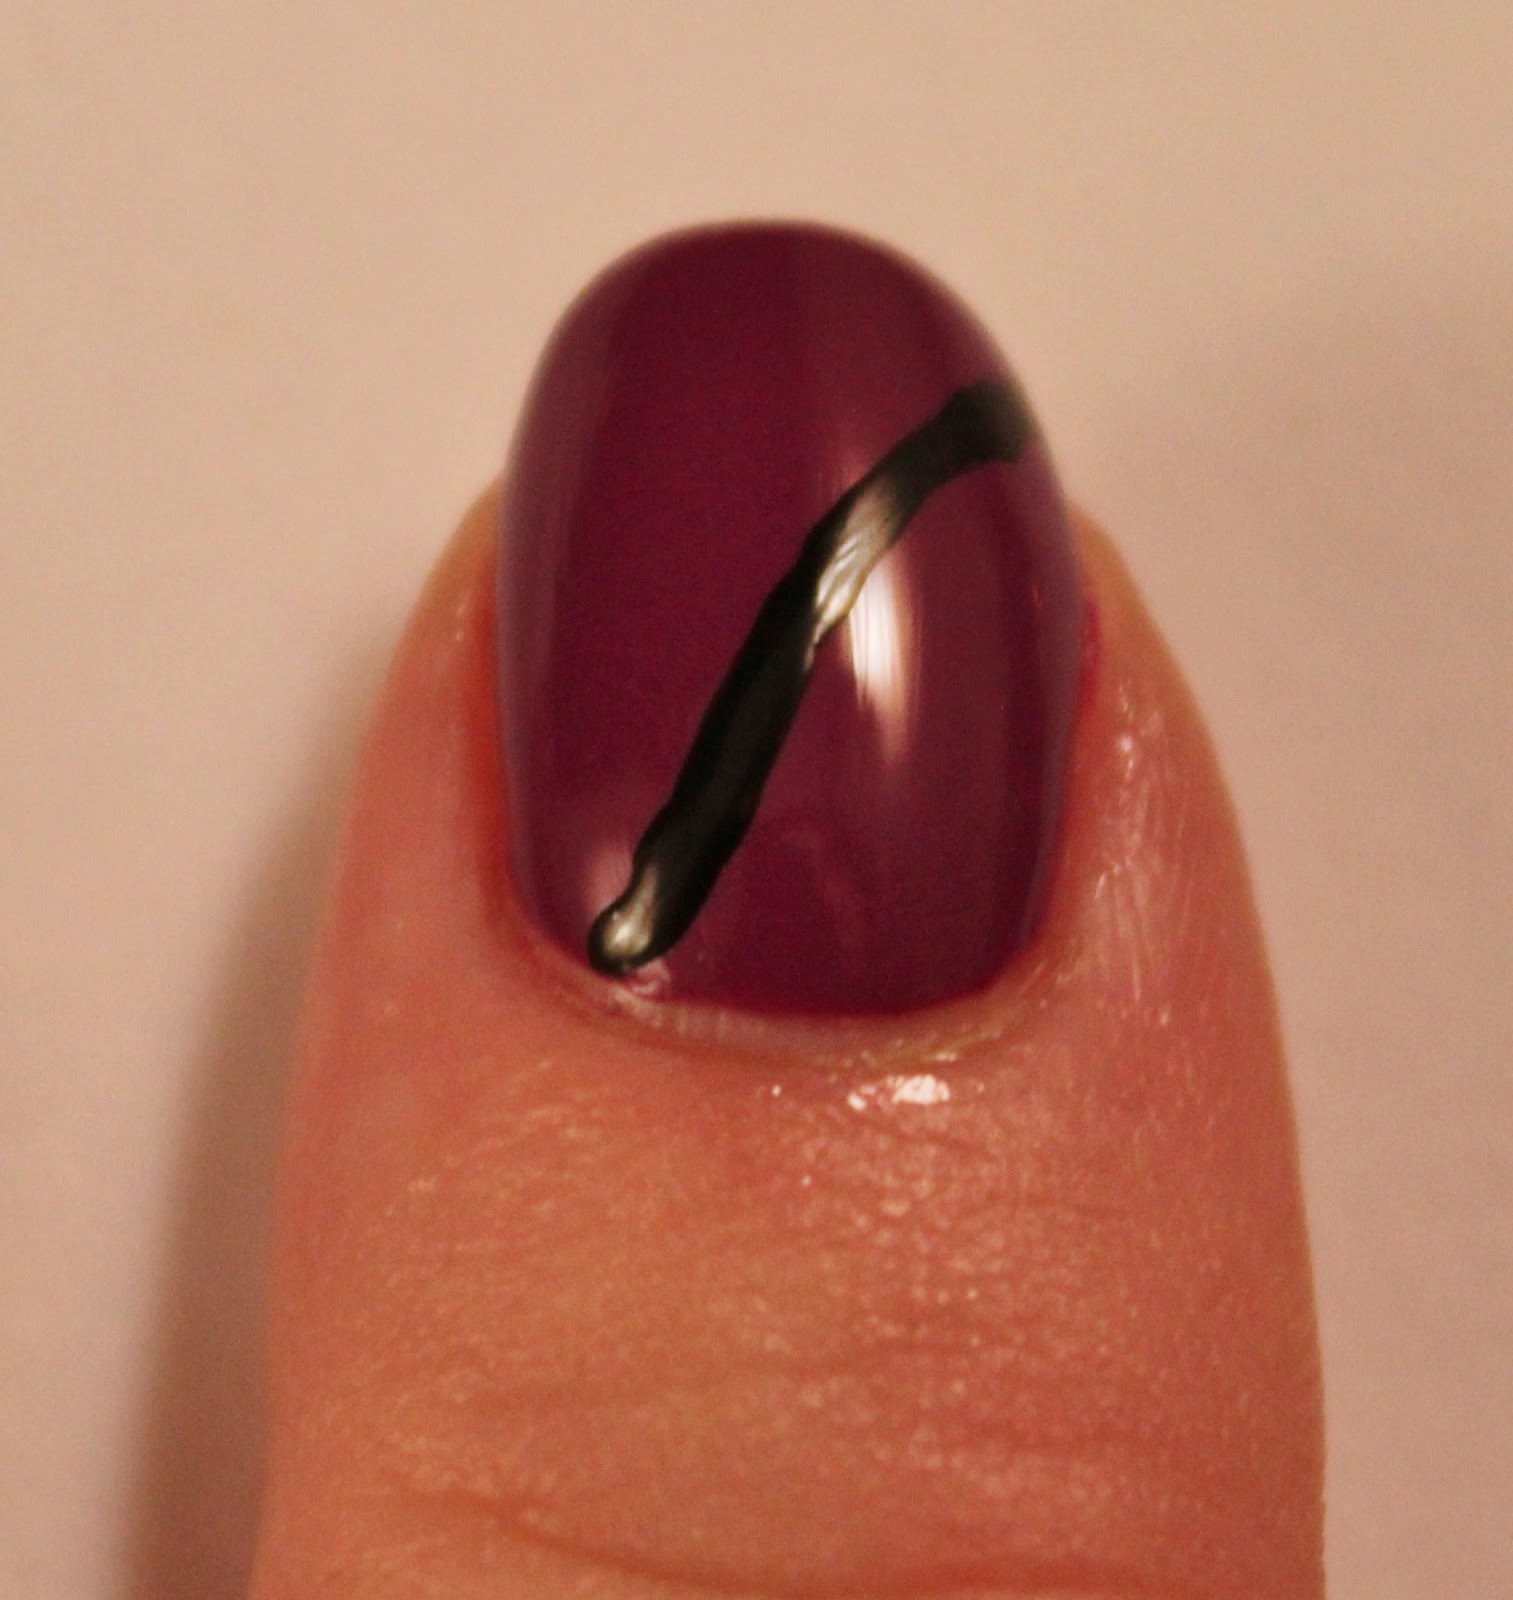
First, of course, start out with your base color and then choose a color for your coral. Like I said above, the black for the lines made the manicure much darker than I meant it to be, so you may want to choose something else. Draw one line, imperfectly curved across the nail diagonally.
Next, you're going to draw another line across the nail, spaced a bit away from the first line.

Continue by making more lines over the nail.

Here's how the nail will look after it's filled with all your lines.

After you've finished the lines, start to add dots between them, gradually making the dots larger as they move toward the end of your nail.

Do that to each space that the lines have made- it will look something like that.

Here's another look at the finished nail art.

I gave the design another go with some other colors and here's what resulted:

I hope you give this a try and let me know how it turns out for you!
Song of the Day: CocoRosie- Fairy Paradise
http://www.youtube.com/watch?v=dvq52tltve4
Over and out.
Really pretty nails! I like the purple nails. I actually painted my fingernails yesterday, which is rare for me. And I attempted nail art, but failed, so they're just red, but it's a really pretty red! lol Thanks for sharing @ Submarine Sunday!
ReplyDeleteNavy Wifey Peters @ USS Crafty