Welcome to Wednesday Wrap-Up. Our week went a little something like this:
Of course we had to bbq again! This time dad enlisted a few helpers. For the recipe you will find below, the pork does need pounding and it's easier to accomplish this and still stay sanitary by placing the meat to be pounded in a ziplock bag.
Here's a little recipe from our great feast this weekend: BBQ Pork and Chicken Wraps
Ingredients needed are:
2 lbs boneless pork steaks or chicken breasts depending on which meat you want to serve
1 bunch of scallions
1/2 lb shredded pepperjack cheese
1/2 lb shredded cheddar cheese
1 lb bacon
1 jar favorite bbq sauce
optional 1 pkt ranch dressing seasoning packet for the chicken
Initial prep:
If using chicken, use only boneless chicken breast. Butterfly the chicken breast by slicing it horizontally.
and opening the chicken, cutting it in half.
For the chicken option, sprinkle the ranch seasoning lightly over the chicken. Add scallions, and top with cheese. You can use both kinds of cheese, or keep the flavors separate; it's up to you.
Next, roll the chicken lengthwise and with one strip of bacon for each piece of chicken, wrap the meat. No need for toothpicks or any fastening as the bacon will adhere and hold it together.
Here's how the pork looks- it's been pounded out with a meat tenderizer to approximately 1/8 to 1/4 inch thick as our earlier pictures depicted. Follow the same instructions as the chicken, optionally leaving out the ranch seasoning.
Pork
Cheekin
(sprinkle with more ranch seasoning after wrapping)
Quick rundown on bbq process:
Place foil down on one half of grill. (this will allow you to use indirect heat and not burn the bacon in the process).
Heat grill to approx. 500 degrees F.
Place your meat wraps on the foil.
Let the meat cook for approx. 20-25 min. and turn meat over, continuing for approx 20 more min.
At this point the bacon is cooked but not crisp. If you want crispier bacon move the wraps to the direct heat (not covered in foil). Note: bacon will have a tendency to catch fire so monitor carefully and let bacon cook to desired crunchiness- then place back on indirect heat.
Next, using your favorite bbq sauce (we used KC Masterpiece) spread onto the meat.
Close the grill lid and cook for approx. 5 min.
Flip the meat and repeat from the when you applied sauce.
You're done!
After bbqing
This was soooo sooo good! Thanks for makin it and for the recipe dad!
On to the crazy kids!
Missy Bee's first time on a sit-n-spin.
Our cutie guests for the fancy pants luncheon.
Oh ya, this guy came too.
So fancy pants.
Flying lessons
Driving lessons
Riding lessons
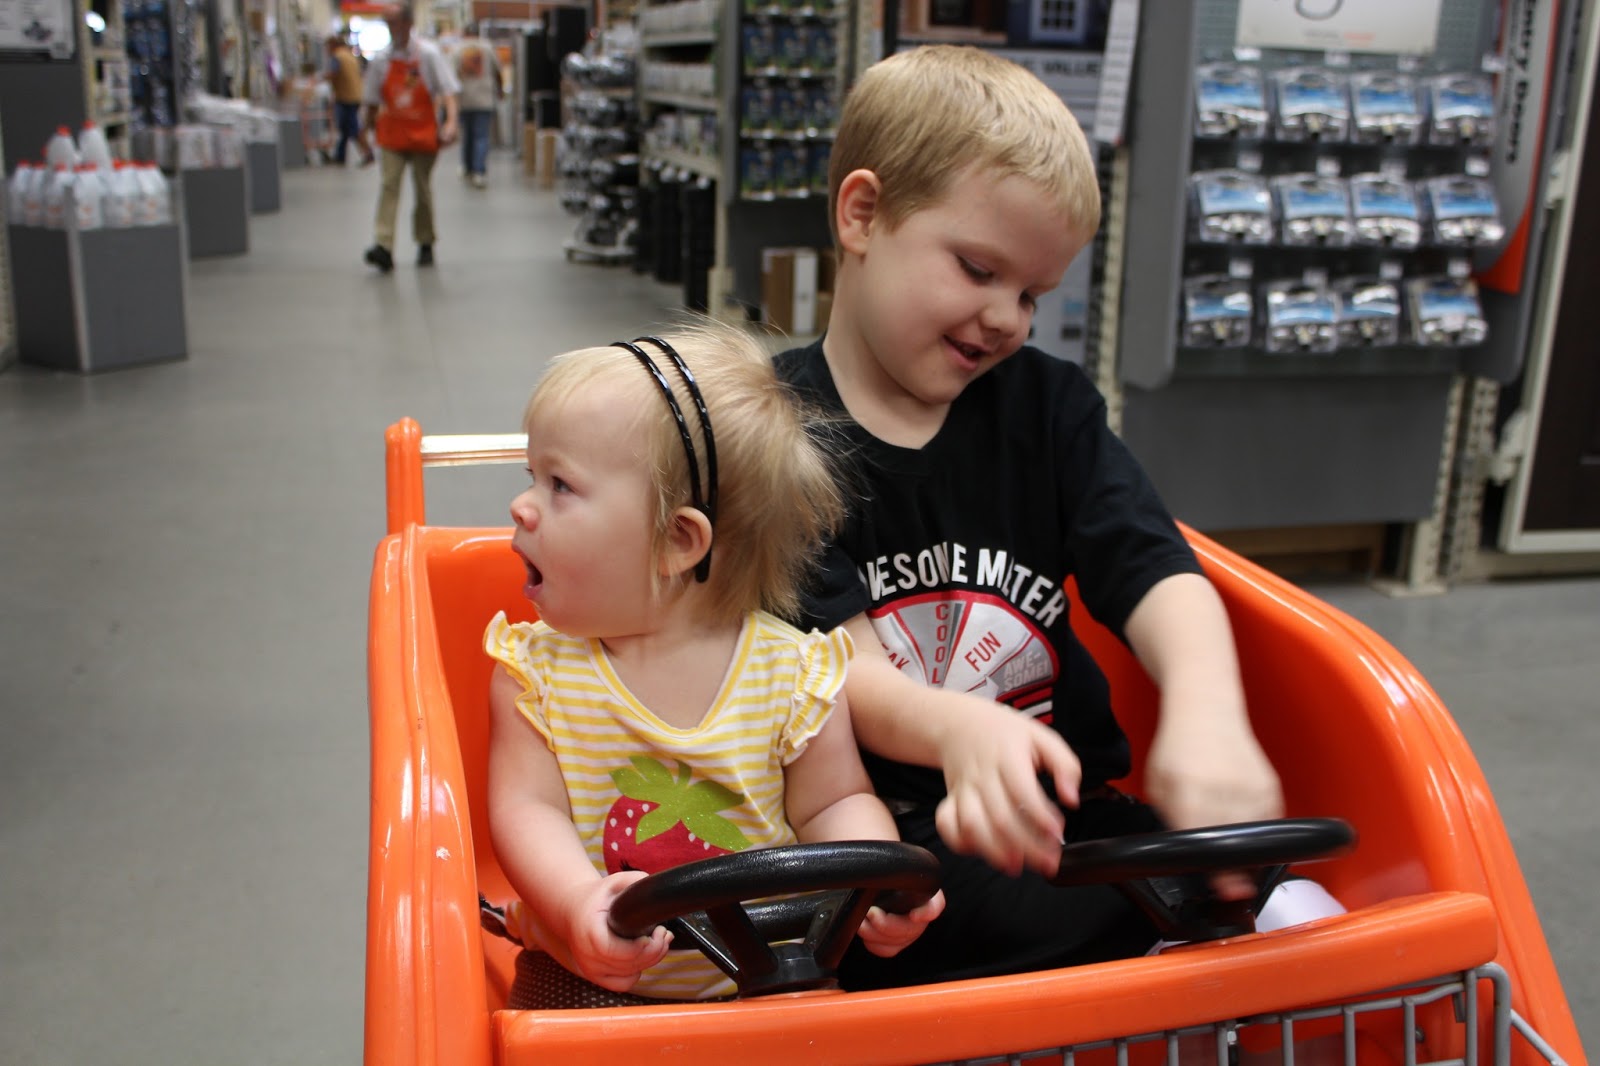
At the Home De Pot
Yay we love the carts here! Such a good time.
Hmm, Mr. Bug thinks the little lady on his right is actin' shady lookin' over his shoulder...
Yes! She's gettin' tired- gonna lap her right quick now.
Gettin' her game face on...grrrrrrr
Wheee I won!
What a fun week we had, and a super great, long weekend together with family which is the greatest blessing of our lives :) Hope you all had great memories as well.
Song of the Day:
http://www.youtube.com/watch?v=0Sx3mOtQ9VI
Over and out.