Thursday, June 6, 2013

Movie and a Mani: Warm Bodies

Why, hello there :)  If you're here today you are looking for one of three things: a movie review (every Thursday I give you my take on a new film to me), a fabulous manicure/nail art(inspired by the movie I've reviewed), or you just really like me ;)  Hey, I guess you could be here because of all three, and then that officially makes you one of da tuff ten!

Well here it is- this week I reviewed the film Warm Bodies.  I've been waiting for it to come to Redbox and it finally has!


Cast
The male and female lead roles in this zombie/romantic comedy are Nicholas Hoult(About a Boy, X-Men: First Class, Jack the Giant Slayer about to come out) and Teresa Palmer(The Sorcerer's Apprentice, and I Am Number Four).  They are joined by Analeigh Tipton(Crazy, Stupid Love, and America's Next Top Model), Rob Cordry(Seeking a Friend for the End of the World, Hot Tub Time Machine), Dave Franco(brother of James Franco, Superbad, 21 Jump Street, Fright Night), and John Malkovich(well we all know who that is).  Super fun cast, played off each other so well in a movie that isn't a comedy for the jokes and outrageous intended humorous moments, but in the subtleties that bound a whole movie about zombies turning back into humans together.

Overview
Basically R is a young adult who feels different from those in his surroundings.  He feels like he doesn't quite fit in, which would sound like every other coming-of-age story, except for the fact that he's a zombie.  He feels things at times, he enjoys sensory exploration in music and the vivid memories coming from the brains of his victims....yes this movie obviously combines the gruesome with the beauty(which comes in the acceptance of an individual by another person willing to get to know them for who they really are- which is where the romance comes into play).  Julie is a young adult(human this time) who lives in this world where she and her friends go out each day to find supplies for the remaining humans living in a compound away from the zombies.  It is on one such mission that she and R meet and instead of killing her like all the other zombies would, he feels a connection to her and saves her, giving her shelter from his peers.  What follows is how they develop a friendship and through that comes acceptance and change of heart.

Manicure
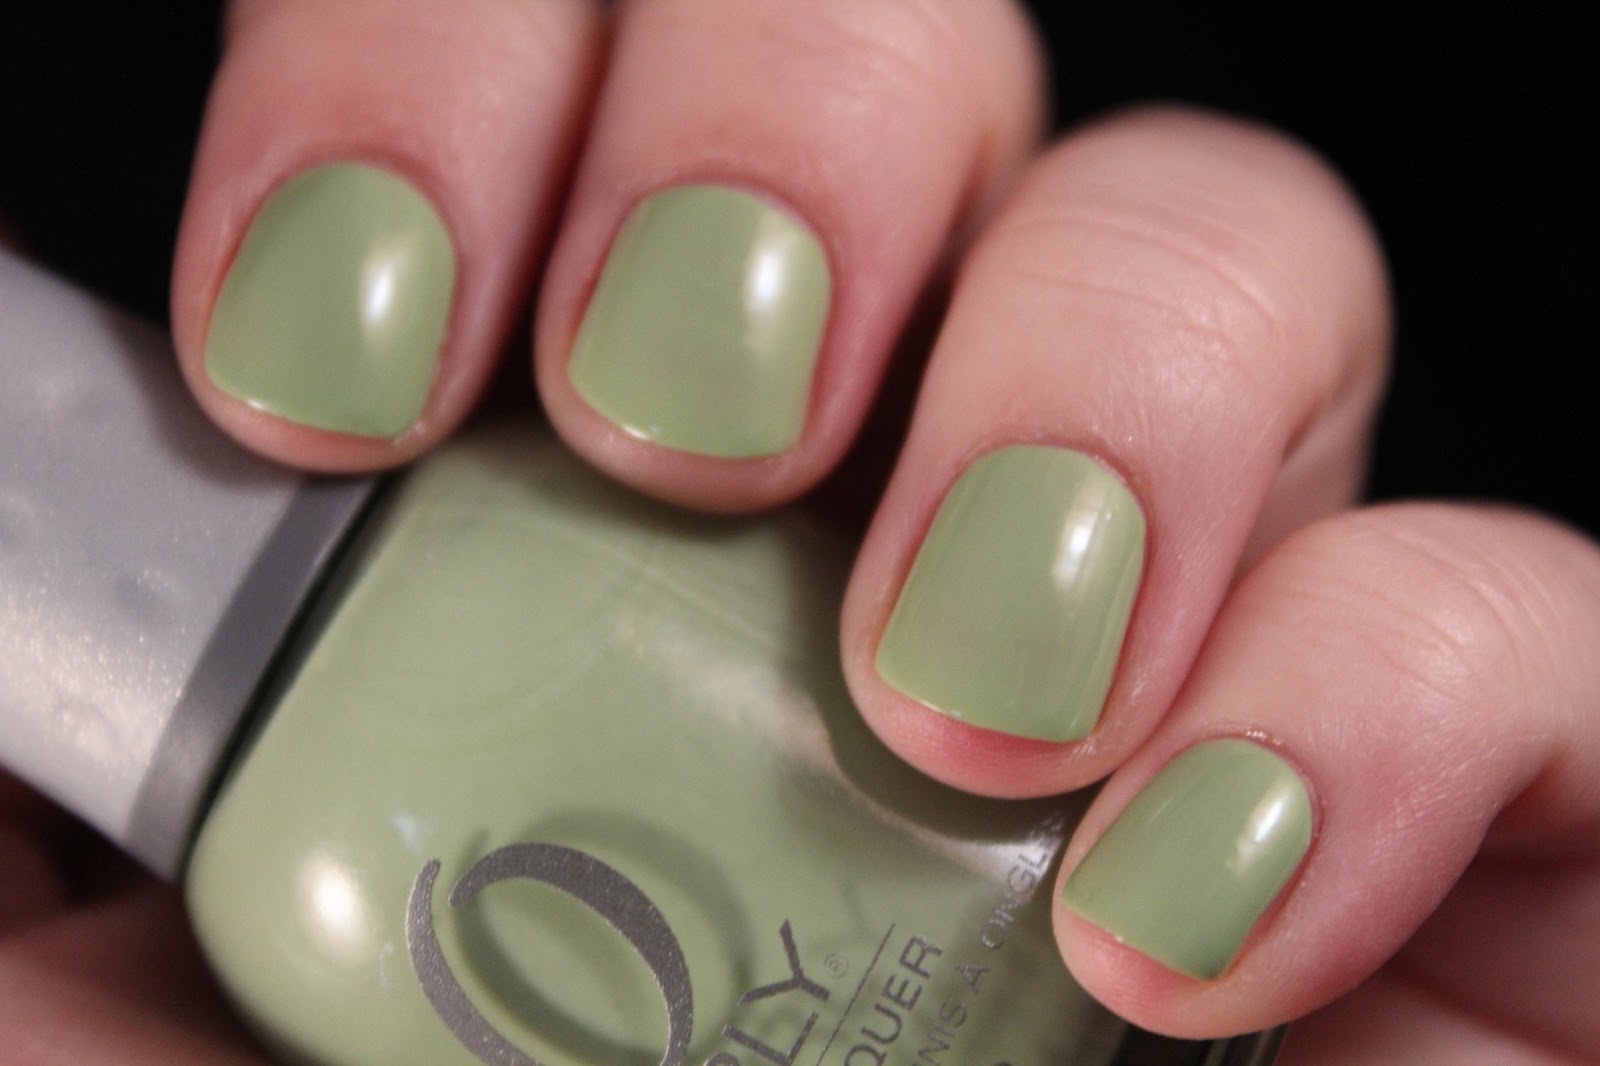
I tried a few looks for today's film.  I went ugly with a rotting flesh look on the nails, but I just wasn't into it.  I couldn't demonstrate well enough the change in R, so I went for this look instead:


The idea here is that R starts in the film as a very lifeless, blah zombie- as zombies generally are- but he has just a little color running through his veins(the purple).  Then as the movie progresses, he gains more color, life, and humanity back inside him.  The manicure is meant to demonstrate that concept as it progresses across the hand.  I used Julep Debra as the base, and acrylic paint for the rest.

Additional Review
I actually watched this movie solo this week because Tdawg's reaction to the movie was, "Zombies? Pass."  I guess that is his review...so take it for what it is :)

Conclusion
My recommendation is if you are a rom-com fan who can stomach a bit of gory mess, go pick this one up.  I really enjoyed it and only had to cringe a few times...mostly with the brains- but other than that I really liked the message.  They were taking a look at acceptance and love in a hyperbolic way.  Obviously there are not zombies that need love in our lives(well not yet!) but by examining an outlandish story of love and change through that love, we examine the parts of our own lives where acceptance, kindness, and love can have great change.  Like I said, great message.  If you check it out, let me know what you think about it!

Song of the Day:
http://www.youtube.com/watch?v=sNj8UUVzl7c

Over and out.

Wednesday, June 5, 2013

Wednesday Wrap-Up: 6/5/2013

Another week has passed for our crazy little clan, and here's some of my favorite moments from it:


Don't even pretend you didn't say I could have this pudding Mom...


I'm gonna paint nails too


Snuggle buddies


We were invited to swim at a friend's house this week and she has the most beautiful pool.  The kids were all in heaven :)


All my loves <3 p="">


What?? Somebody take out the kid with the squirt gun :)


Love...oh, and nommin' me some chips right thar


Thanks Grandma for my fabulous suit!


These gloves are the style, right?


So tickled with herself


Best buds forever


In such a silly mood :)


These are all of her dancing to brother singing the Elmo song :)


Well that's it from us this week.  Love to you all.  Can't wait to see all the fam in July

Song of the Day:

Over and out.

Tuesday, June 4, 2013

Tuesday Tutorial: Framed Gradient

Hey peeps, today's tutorial combines two of my favorite nail art techniques trending right now, gradient and framing.  Here's the look we're going to create today:


1) The first thing you're going to do is pick your two gradient colors.  You can use three if you want, but two is fine if you want to keep it simpler and practice your technique.  I started with two coats of Orly Black Vinyl(just your basic black) and then one coat of NYC Precious Peacock which really comes to life over black.  You can pick it up for a couple bucks at any drug store and it is just gorgeous.


2) Next you need any kind of sponge(I got this one with a China Glaze Ombre kit) and I rather like the more porous nature of this sponge.  Paint your two colors next to each other on the sponge, slightly overlapping.


3) Dab the sponge onto the nail so it covers across the width of the nail.  Repeat with every nail, reapplying the two colors onto the sponge with each nail.  You can use the same space on the sponge over and over.  Return to the first finger and repeat the process slightly varying the place your sponge meets the nail with each dab so that there's not a clear line where you've sponged each color.  Your nail surface will look bumpy, but your top coat will take care of all that.


4) Add top coat and clean up around the nail with a brush and acetone.


5) On to the framing.  I used basic white for a strong contrast, you can pick whatever color you think will compliment your look.  With a small brush carefully draw a line around the edges of your nail, "framing" your gradient nail art.  This will also be just a little bumpy but your top coat will again step in and save the day.


Here's the finished look with just one accent finger "framed."


This is the look with every nail framed.  What do you think?


Do you like either of these techniques?  Remember when trying these out that practice is key, as with most things in life :)  Don't give up if it doesn't turn out just as you expected on the first try.  Do you like the look with just one nail framed or with a uniform design across all the nails?  I hope you give this a try and let me know how you like it for yourself.  Have a fabulous day!

Song of the Day:
http://www.youtube.com/watch?v=wiLlx6T471A

Over and out.

Monday, June 3, 2013

Graphic Skittles

This look is super random, but I was just trying out some different designs and here's what resulted.  Sometimes it's fun to have a completely eclectic look on your nails.  Just start painting and see what happens :)


The base color on each nail is Avon Apple of His Eye which is a bright red/orange shimmer.  Get our your colors ladies- play, live, laugh!

Song of the Day:
http://www.youtube.com/watch?v=wQ8CBQvnwm0

Over and out.

Sunday, June 2, 2013

Easy Sunbursts

 Happy Sunday to you all :)  Here's a fun easy look for you to try.  Literally takes two seconds, but still give your nails some flavor.
 All you need to do is give your nails two coats of your chosen polish- in this case Orly Terracotta and then taking two more polishes and a striper brush drag some lines in a sunburst pattern on each nail- and then fill in some of the gaps with smaller stripes with that third color.


Hope you give this look a try and enjoy the rest of your weekend!

Song of the Day:
http://www.youtube.com/watch?v=ruakMoSvVsY

Over and out.

Saturday, June 1, 2013

Saturday Random Swatching: 06/01/2013

 It's Saturday!  Ten more lovelies.  Here's hoping you find something you fancy this week.  I sure did!

Pure Ice Super Star is my offering for red this week.  This was a pretty goopy red raspberry jelly polish.  Like literally my bottle I think was messed up because it looked like jelly in a bottle of polish and it took great effort to smooth out the polish on my nails.  It's a shame too because the color is interesting with the rainbow of shimmer within, but I've found that to be the case with this brand- hit or miss.  C-


Sinful Colors Sugar N Spice is sooo pretty.  Hot pink without being too hot and a tiny gold shimmer.  This is two coats of creamy goodness, and it looks like it could have used three to eliminate vnl.  I loved it though, A


Sinful Colors Serena and Chloe is amazing.  It's vibrant and screams to be noticed.  It has so much dimension, and as I really don't have that many orange polishes, so this one has a special place in my heart.  A.


Color Club Sunrise Canyon is acting as my yellow polish for this week.  It's barely in the yellow family as it is a very yellow green cream.  I love love love this color by the way.  It is from their Spring Fiesta collection and it was nearly a one-coater.  So glad it found it's way to my home.  A.


Orly Coachella Dweller from their Spring 2013 collection is a dusty spring green shimmer.  The shimmer is really faint, but it's there and adds a little something special to this polish.  As with most Orly polishes, it has a great, easy two coat formula, and they have some of the biggest bottles out there right now btw, giving you a lot o' bang for your buck.  A.


China Glaze Fade into Hue was one of my favorites from the Avant Garden 2013 collection.  It's such a mix of colors that it's hard to put my finger on exactly what it is but we're going to call it a dusty grey lavender.  Two coats, too beautiful.  A.


 L'oreal Paparazzi Pleaser is a gorgeous deep, dusty violet cream that was smooth and delicious in two coats.  Definitely a must-have purple for me.  A.


Milani HD is from their 3D Holographic offering and I love it so darn much!  It's also more budget friendly than other holographics and I just found it in their regular display at the drug store.  Looks like I could have maybe applied one more coat.  I give it a definite A.  Do you love holographic polishes as much as moi?


Sation Most Hue-nique looks more densely blue in the bottle, but is mostly made up of tiny silver and baby blue glitters, with some larger blue hexes.  I paired it with a great nude polish and I really liked this look.  A.


Julep Myrtle is my featured color of the week, or my A+ color.  When I got this in my May Julep box, I had forgot what shades were coming to me, and I thought, oh- another somewhat deeper, regular old red, and if it looks that way to you in the picture, then my camera did not do it justice.  This is going to be my go-to red now.  It applied onto my nail like silk slides across the skin- which is so delicious if you know the feeling.  The first stroke onto the nail and I was hooked, it's more of a crelly than a cream and pictured here is two coats.  I am obsessed with this shade and if you ever buy Julep polishes, put this one in your cart next time, you won't regret it!

The polish brands can be found at the following locations:
China Glaze- Ulta, Sally Beauty Supply, transdesign.com, head2toebeauty.com
Julep- julep.com
Color Club- transdesign.com, head2toebeauty.com, Ross 
Sinful Colors- Target, Walmart, CVS, Rite Aid, Walgreens 
Milani- CVS, Walgreens
L'oreal- Target, Kmart, Walmart, CVS, Rite Aid, Walgreens
Sation- transdesign.com
Orly- Sally Beauty Supply, CVS
Pure Ice- Walmart

That's it for this Saturday Swatch-a-thon.  Hope you have a great weekend.  See you tomorrow!

Song of the Day:
http://www.youtube.com/watch?v=iqUBmeFn7qM

Over and out